Photos rarely come out of your phone or camera exactly the way you need them. They’re too large to upload, the wrong format for a website, sideways, missing a caption, or just need a quick crop before they go anywhere. For years, the default answer was opening Photoshop, and for a five-second fix, that’s a lot of software to launch.
These days, almost every common image task, resizing, compressing, converting formats, cropping, watermarking, or cleaning up hidden metadata, can be done in a browser tab in a few seconds, for free, with no account and no software to install. Whether you’re prepping product photos for an online store, shrinking screenshots for a support ticket, or just trying to get a profile picture to fit, the fix is almost always faster than opening a full photo editor. This guide walks through the image edits people search for most often, how each one actually works, and which free tool handles it.
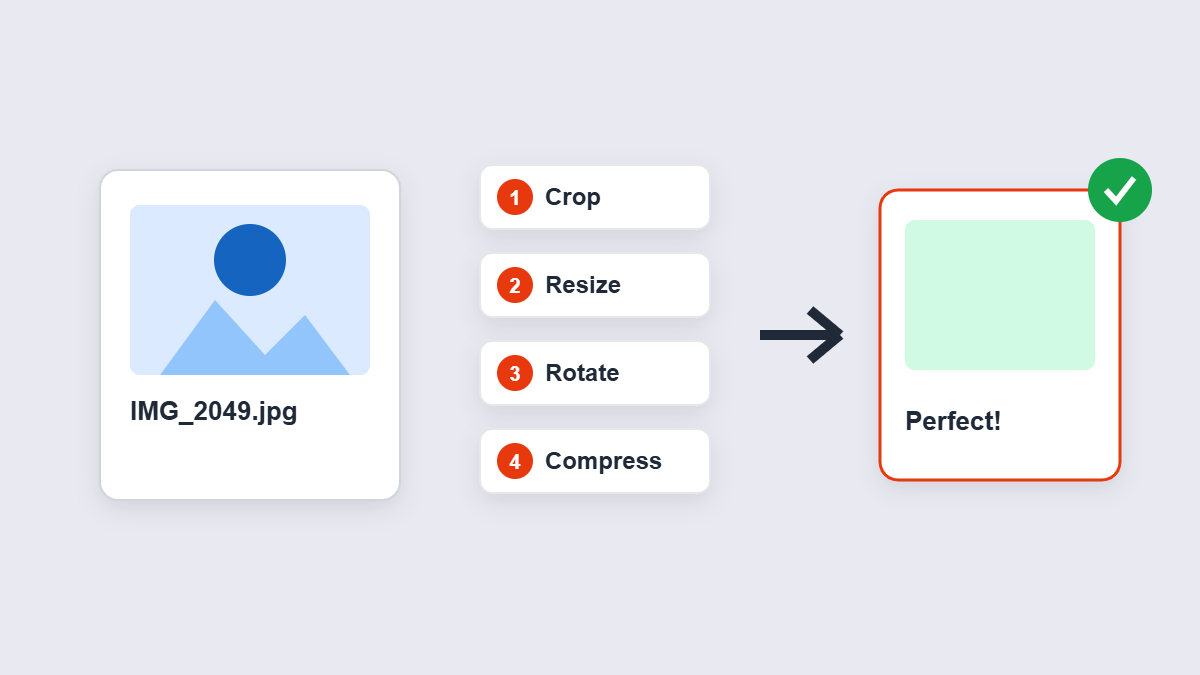
Table of Contents
- How It Works: Edit an Image in 3 Simple Steps
- 14 Things You Can Do to an Image Online (Without Installing Anything)
- Which Image Tool Do You Actually Need?
- Is It Safe to Edit Photos Online?
- Frequently Asked Questions
- The Bottom Line
How It Works: Edit an Image in 3 Simple Steps
Every image tool below follows the same basic flow.
- Upload your image. Drag and drop the file, or click to browse for it.
- Choose what you want to do. Pick the specific edit, such as compress, resize, or convert.
- Download the result. Your edited image is ready in seconds, processed locally in your browser.
No uploads to a remote server, no watermark stamped on your photo, and no limit on how many times you can use it. Here’s a breakdown of the specific jobs people need most, and exactly how to handle each one.
14 Things You Can Do to an Image Online (Without Installing Anything)
1. Compress an Image Without Losing Quality
This is the single most common image task there is, usually triggered by a website that’s loading slowly or an upload form that rejects large files. Compression reduces file size by cleaning up redundant image data while keeping the visible detail and color intact, so at a standard setting, the difference is invisible to the eye even though the file might be half the size or smaller.
→ Try the free Compress Image tool, or the format-specific Compress JPG, Compress PNG, and Compress WebP tools.
2. Resize an Image to Exact Dimensions
Whether it’s a profile photo that needs to be exactly 500×500 pixels or a banner image that has to fit a specific width, resizing changes an image’s pixel dimensions directly. You can scale proportionally to avoid stretching, or set an exact width and height when a platform demands a specific size.
→ Try the free Resize Image tool.
3. Crop an Image to the Part You Actually Need
Cropping trims away everything outside the area you select, which is useful for cutting out a distracting background, focusing on a subject, or fitting an image into a specific aspect ratio. A circular crop option is also handy for profile photos and avatars that need a perfectly round shape.
→ Try the free Crop Image tool, or Circle Crop Image for round avatars.
4. Convert Between Image Formats (JPG, PNG, WebP, BMP)
Different formats suit different jobs: JPG for photos and small file sizes, PNG when you need transparency or crisp text, and WebP for modern, fast-loading websites. Converting between them takes seconds and means you’re never stuck with a file in the wrong format for where it needs to go.
→ Try the free Convert Image tool, or jump straight to PNG to JPG, JPG to PNG, and Image to WebP.
5. Add a Watermark to Protect Your Photos
If you’re sharing photography or graphic work online, a watermark makes it harder for someone to pass your image off as their own. Add a text watermark or your own logo, then adjust its size, position, and transparency so it protects the image without ruining the view.
→ Try the free Watermark Image tool.
6. Rotate or Flip an Image
A photo taken at the wrong angle, or one that needs a mirrored flip for a design layout, is a one-click fix. Rotate in 90° increments to fix orientation, or flip horizontally or vertically without affecting resolution or quality.
→ Try the free Rotate & Flip Image tool.
7. Add Text to an Image
Captions, quote graphics, memes, and simple promotional images all start with text placed cleanly over a photo. Choose your font, size, color, and position, and the text is rendered directly into the image, ready to download and share anywhere.
→ Try the free Add Text to Image tool.
8. Adjust Brightness, Contrast, and Sharpness
A photo that came out a little dark, flat, or slightly blurry doesn’t need a full photo editor to fix. Nudge brightness and contrast to correct exposure, or apply sharpening to bring out more definition in a slightly soft image.
→ Try the free Image Brightness & Contrast tool, or Sharpen Image for extra detail.
9. Blur Part of an Image
Sometimes you need to hide a face, a license plate, or a background detail before sharing a photo publicly. Blurring lets you select just the area that needs to be obscured, leaving the rest of the image sharp and untouched.
→ Try the free Blur Image tool.
10. Remove Hidden EXIF and Location Data
Most photos carry invisible metadata, including the exact GPS location where they were taken, camera settings, and the date and time. Stripping this out before posting a photo publicly is a simple privacy step that doesn’t touch the visible image at all.
→ Try the free EXIF Data Remover tool.
11. Merge Multiple Images Into One
Combining several photos into a single side-by-side or grid layout is useful for before-and-after comparisons, product shots, or a quick collage. Upload the images you want to combine and arrange them into one file, no design software required.
→ Try the free Merge Images tool.
12. Convert a Photo to Grayscale
A black-and-white version of a photo can look more timeless, more dramatic, or simply match a design where color would be distracting. Converting to grayscale removes color while keeping full tonal detail and contrast intact.
→ Try the free Grayscale Image tool.
13. Add a Border or Frame to an Image
A clean border can make a photo look more finished, help it stand out in a grid of other images, or match a specific style guide for a website or print layout. Choose a border color, thickness, and style, and it’s applied evenly around the entire image in one step.
→ Try the free Add Border to Image tool.
14. Pull the Exact Colors Out of an Image
Designers and developers often need to match a color from a photo or logo exactly, whether that’s for a brand palette or a piece of CSS. Instead of guessing, a color tool reads the precise hex or RGB value directly from any pixel, or extracts a full palette of the dominant colors used across the image.
→ Try the free Image Color Picker tool, or Color Extractor to pull a full palette at once.
Which Image Tool Do You Actually Need?
If you’re not sure where to start, match your situation to the row below.
| If you need to… | Use this tool |
|---|---|
| Shrink a file that’s too large to upload | Compress Image |
| Fit exact pixel dimensions | Resize Image |
| Cut out a specific area or make a round avatar | Crop Image |
| Switch between JPG, PNG, WebP, or BMP | Convert Image |
| Protect a photo with a logo or text stamp | Watermark Image |
| Fix a sideways or mirrored photo | Rotate & Flip Image |
| Add a caption or quote over a photo | Add Text to Image |
| Fix a dark, flat, or slightly soft photo | Image Brightness & Contrast |
| Hide a face or detail in a photo | Blur Image |
| Strip GPS and camera metadata | EXIF Data Remover |
| Combine several photos into one | Merge Images |
| Convert a photo to black and white | Grayscale Image |
| Add a clean border or frame | Add Border to Image |
| Get the exact hex code of a color | Image Color Picker |
Is It Safe to Edit Photos Online?
It’s a reasonable thing to check before uploading a personal photo anywhere, especially one that might contain a face, a location, or other identifying detail. On 11zon, image tools run locally in your browser instead of sending your file to a remote server to be processed and stored, so your photo stays on your own device the entire time, whether you’re compressing, cropping, or watermarking it.
If privacy is a specific concern for a photo you’re about to share publicly, run it through the EXIF Data Remover first to strip out any embedded GPS coordinates before it goes anywhere. And as with any file, keep a copy of the original before you start editing, since a downloaded, edited version won’t contain anything you cropped or blurred out.
A couple of extra habits are worth keeping for anything sensitive: avoid browser extensions you don’t recognize while working with personal photos, and double-check a cropped or blurred image at full size before sharing it, since a small preview can hide details that are still visible once someone zooms in.
Frequently Asked Questions
What’s the best image format for a website?
WebP generally offers the best balance of quality and file size for modern websites, with broad browser support. JPG remains a safe, universal choice for photos, and PNG is best when you need transparency or sharp text and line art.
Will compressing an image make it blurry?
At a standard compression level, no. Compression targets redundant data in the file rather than the visible detail, so most images keep their sharpness and color accuracy even at a significantly smaller file size.
Is it safe to upload personal photos to an online tool?
It depends on how the tool processes your file. Tools that run entirely in your browser rather than uploading your photo to a server keep the file on your own device throughout, which is the safer option for personal images.
Do I need an account to use these image tools?
No. Free online image tools are typically built for one-off tasks with no sign-up, no watermark added automatically, and no limit on how many times you can use them.
Can I edit images on my phone?
Yes. Browser-based image tools work on any modern mobile browser, on both iOS and Android, so you can compress, crop, or convert a photo directly from your phone without installing a separate app.
What is EXIF data and why does it matter?
EXIF data is metadata embedded in a photo file, including the camera model, settings, and often the exact GPS location where it was taken. It’s invisible when you view the photo, but it travels with the file until it’s stripped out, which matters if you’re posting the photo publicly.
Can I combine several edits, like cropping then compressing?
Yes. Since each tool downloads a finished file, you can run that file through another tool right after. For example, crop a photo first, then compress the cropped version before uploading it.
How do I find the exact color used in a logo or photo?
Upload the image to a color picker tool and click anywhere on it to read the exact hex or RGB value at that pixel. If you need every dominant color in the image rather than just one point, a color extractor pulls a full palette at once.
The Bottom Line
Almost every photo problem, too big, wrong format, sideways, or just needing a quick crop, has a fast, free, browser-based fix. There’s no software to install, no account to create, and no reason to reach for a full photo editor just to get one small job done. Bookmark this guide, and next time an image gives you trouble, you’ll know exactly which free tool to use.
