The design team sent the annual report as a PDF and you need the product photos inside it. Re-requesting the originals takes a day; extracting them from the PDF takes seconds — at their full original quality, not as fuzzy screenshots. Here’s how extraction works and when it’s the right move.
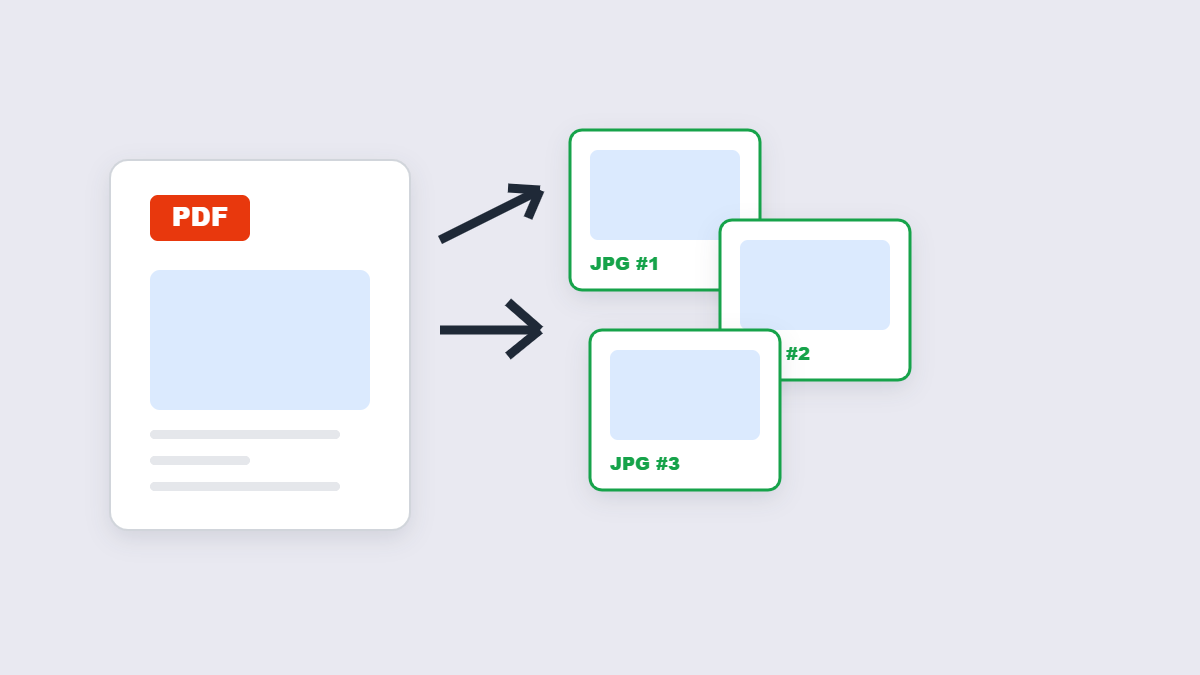
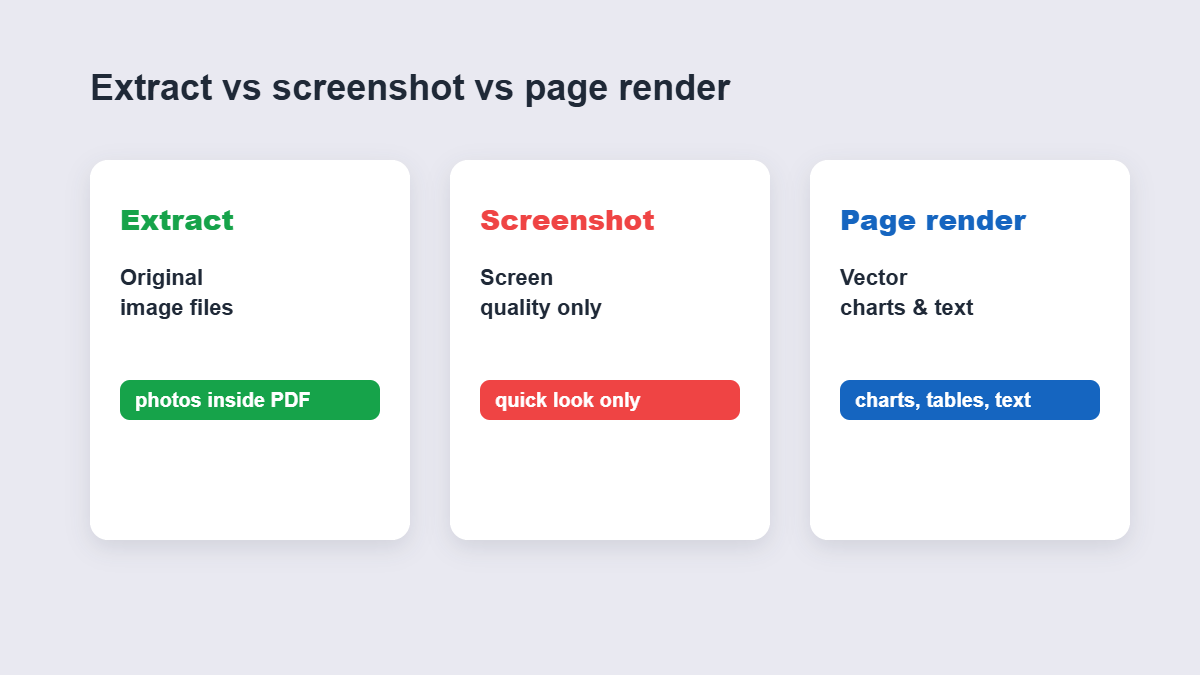
Table of Contents
- Extracting vs screenshotting
- How to extract images step by step
- What you can (and can’t) pull out
- What quality to expect
- Real-world uses
- FAQ
Extracting vs Screenshotting
These are different tools for different jobs, and mixing them up is why people end up with blurry images:
| Extraction | Screenshot | |
|---|---|---|
| What you get | The actual embedded image file, at its stored resolution | Whatever your screen shows, at screen resolution |
| Print quality | Yes, if the original was high-res | No |
| Works on charts and text | No — those aren’t images | Yes |
The rule: if the PDF contains real embedded photos, extraction gives you the originals. If what you want is a chart or a block of styled text, there’s no image to extract — render the page as a high-resolution image instead (the PDF to Image tool) and crop what you need.
How to Extract Images Step by Step
- Add the PDF to the extraction tool.
- Start the extraction — every embedded image is pulled out as-is.
- Preview the results and pick the ones you want.
- Download individually or grab the whole set in one file.
Nothing is re-compressed: extraction copies the stored image data exactly as the PDF contains it. A photo that went in at 2000 pixels wide comes out at 2000 pixels wide.
What You Can (and Can’t) Pull Out
Extraction finds raster images — photographs, scans, screenshots embedded as pictures. It cannot extract things that were never images: text, vector logos, tables drawn with lines. Those are mathematical descriptions, not pictures, and they render at any zoom level instead of existing as a fixed-size file. That’s why a text-heavy PDF sometimes yields “no images found” — there genuinely are none.
Design note worth knowing: a designer’s export sometimes breaks one visual into many small image strips. If your extraction returns a puzzle of fragments, the PDF was built that way — ask for the original assets instead of assembling strips.
What Quality to Expect
Extraction quality equals what’s inside the PDF — nothing more, nothing less. A print-quality report holds print-quality images; a web-compressed PDF holds small ones. Two expectations to set:
- Extraction never upgrades quality — a 400-pixel logo comes out 400 pixels wide, no matter how much you need it bigger.
- Extraction never degrades quality — no re-compression, no resizing, no format conversion (a JPEG inside the PDF comes out as a JPEG).
If the extracted images are too small for your use, extraction did its job — the PDF simply never contained bigger versions. That’s an “ask the designer” moment, not a tool problem.
JPEG, PNG or Something Else Inside?
PDFs store images in a handful of internal formats, and extraction hands them back in whatever they were stored as. Practically: photographs inside PDFs are almost always JPEG — extraction returns JPEGs. Screenshots and flat graphics are usually stored losslessly and come back PNG-flavored. Some PDFs use specialty formats (JPEG2000, CCITT for black-and-white faxes) that extraction converts to standard PNG or TIFF for you. The detail matters for one decision only: if you plan to re-edit the images, convert anything unusual to PNG first so re-saving never degrades it.
One Image or a Hundred: Handling the Results
Extraction output ranges from one perfect product photo to forty fragmented design strips, and the right handling differs. Small sets: rename the keepers immediately (“product-front.jpg”, not “image-0034.jpg”). Big sets: download everything at once, then prune — deleting is faster than picking one by one. And if the set is mostly junk with a few gems, sort by file size first: the real photos are almost always the heaviest files, while decorative fills are tiny.
Real-World Uses
The recurring scenarios: reusing product photos from a supplier’s catalog PDF, rescuing the images from a design handoff where the originals went missing, pulling charts-as-images out of research reports for a presentation, and archiving the visual content of a document separately from its text. In most of these, speed matters as much as quality — extraction delivers both, and with browser-based tools the document stays on your device while it happens.
Where Does the PDF Go During Extraction?
The same rule as every tool in this family: browser-based extraction runs on your device, so the document never transmits anywhere. That matters more here than on most tasks, because the PDFs people extract from — supplier catalogs, licensed reports, client handoffs — are exactly the documents with distribution restrictions. Extraction that never uploads can’t violate them on your behalf. As always with any tool, the FAQ should state the processing model in one plain sentence.
FAQ
How do I extract images from a PDF for free?
Add the PDF to an extraction tool and download the embedded pictures at original quality. Free, no account, and browser-based tools keep the file on your device.
Why are some extracted images tiny or fragmented?
That’s how they were embedded. Backgrounds and design elements are often stored as strips or low-res fills — the extraction is accurate, the PDF’s contents just aren’t the polished originals.
Can I extract images from a scanned PDF?
Yes — a scan is one big embedded image per page, so extraction returns page-sized images rather than individual photos.
What about images inside charts or diagrams?
If the chart was drawn as vectors with an image inside it, extraction gets the image. If the whole chart is vector art, there’s nothing to extract — render the page as an image instead.
Does extraction change the image format?
No — a stored JPEG comes out as a JPEG, a PNG as a PNG, at their stored resolution.
Is my PDF processed in your browser?
No. Browser-based extraction runs entirely on your device.
